
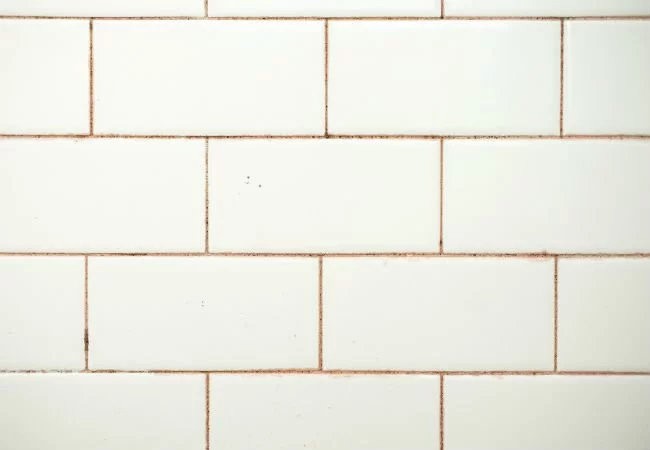
Clean Mildew From Shower Tile Grout
Mildew and mold grow in warm, wet settings, so it is no wonder that the shower is one of its favorite locations. Mildew spores especially like to develop on grout, that porous material among shower tiles that just appears to appeal to stains. Not merely does the grey or black staining look unattractive, but mildew can also result in allergies in delicate individuals. Cleaning grout can be tiresome, but utilizing a few economical, natural basic products you likely have readily available can help to make the process just a little less agonizing.
Precleaning Grout and Tiles
Step 1
Dampen a clean cloth or sponge with tepid to warm water and clean the area to be treated. Unless you get the apparent dirt, film, and grime from the grout and tiles before dealing with the mildew, you’ll just finish up with a gross mess.
Step 2
Release mildew spores developing on the grout with a stiff-bristled scrub brush or an old toothbrush. Clean with a round motion to find yourself in every one of the tiny crevices.
Step 3
Wash the targeted area clean with hot water. Pat the grout dried out with a clean towel.
Dealing with Light Mildew Stains
Step 1
Mix equivalent parts distilled white vinegar and warm water in a small spray container. Spray mixture directly onto the stained grout.
Step 2
Allow the vinegar mixture to work for five to ten minutes. Thus giving the mild acidity in the vinegar enough time to sink into and break down the mildew spores.
Step 3
Scrub the grout with a brush so that the mildew stain vanishes. Rinse the treated section thoroughly with tepid to warm water to eliminate all vinegar residue. Dry out the treated area with a clean cloth.
Eliminating Average Mildew Stains
Step 1
Pour Three cups of baking soda into a medium-size bowl. Add approximately One cup of hot water, or simply enough to make a thick paste. Mix until smooth.
Step 2
Spread the mixture directly onto the mildewed grout. Use your scrub brush or an old toothbrush to work the paste into the splits and crevices.
Step 3
Apply undiluted distilled white vinegar directly onto the paste. Wait before area stops foaming and then clean the region using a circular action until no more mildew remains.
Step 4
Clean the paste from the grout using a wet, clean towel. Wash the area with clean water to remove any leftover deposits. Dry the treated surface with a clean cloth.
Dealing with Stubborn Mildew Stains
Step 1
Mix similar levels of chlorine bleach and warm water in a little spray bottle shake it thoroughly. Liberally spray the mixture straight onto the mildewed grout.
Step 2
Permit the bleach mixture to sit for about a quarter-hour so that it can permeate those hard to clean staining. Scrub the treated area one grout line at a time with your brush, using a round motion to get into|all of the tiny crevices.
Step 3
Rinse the region completely with tepid to warm water to eliminate all remnants of mildew and bleach. Dry off the tile and grout with a clean towel. Continue doing this process, if required.
If you find yourself with a really tough mold and mildew problem we’ll be happy to help. Give us a call and schedule a thorough cleaning of all your floor and wall tile and grout today.